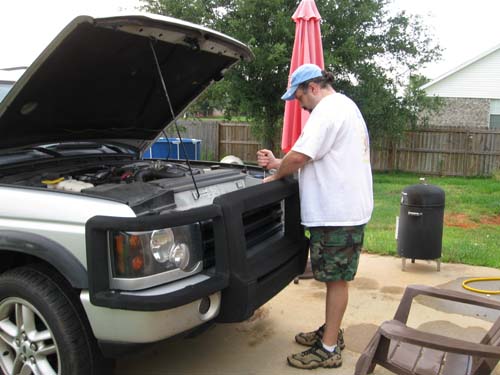
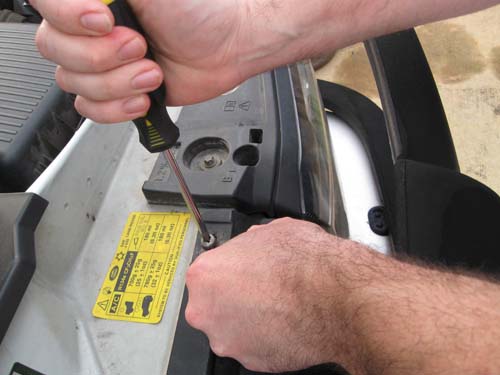
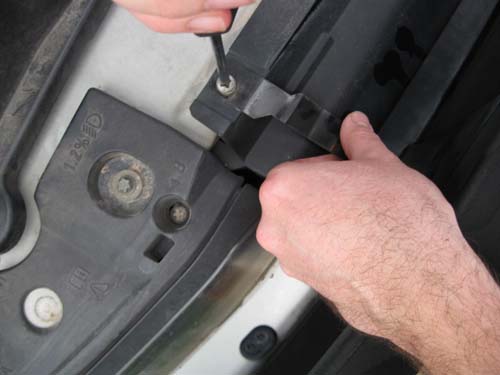
The bull bar install begins with removal of the old brush guard. There are retainer clips under the hood that help to stabilize the upper part of the bar. Phillips-head screws hold the clips in place.
There are also retainer clips on the sides bolted upward into the bar. Thanks to the accident, I only had to remove one.
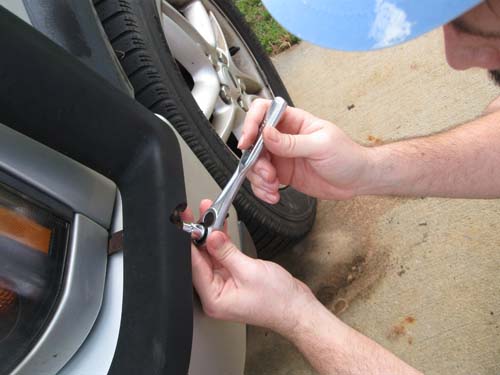
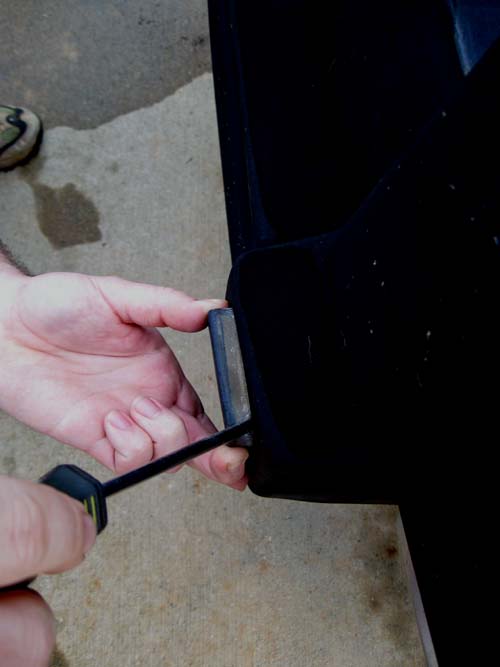
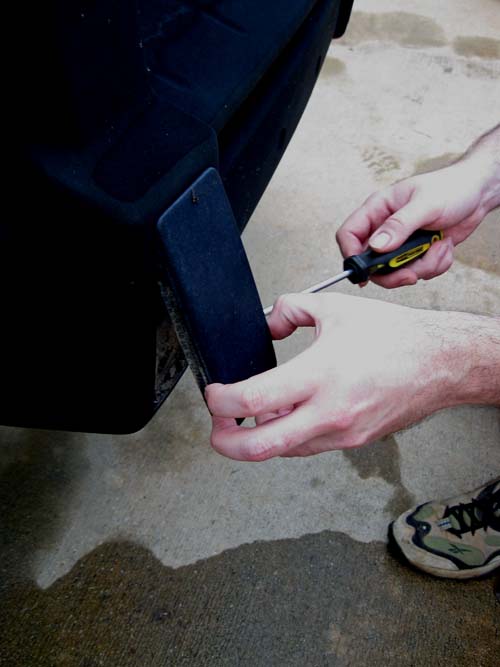
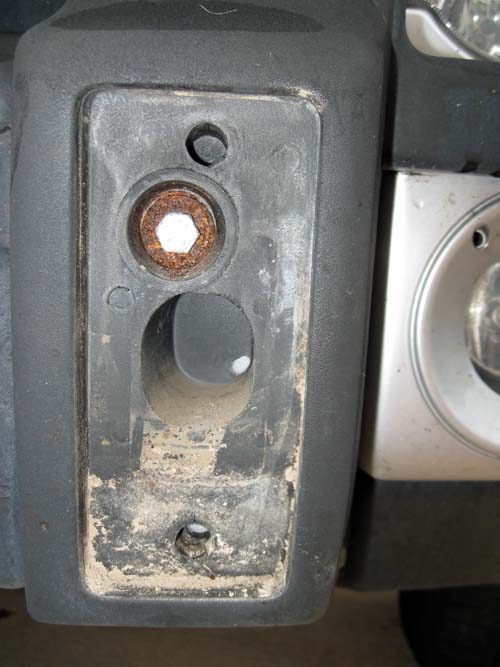
To get to the mounting bolts, you must remove the bumper pads. A flathead screwdriver works fine to get the necessary purchase.
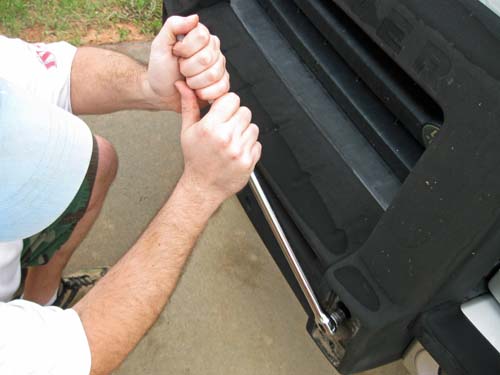
A stout breaker bar helps to get the bolts moving. They are 14mm metric fasteners, by the way, and don’t think you can just run them all the way out and pull the guard off the bumper. That would be way too easy.
No, there is a nylon lock nut on the back of each bolt, and once you get the bolt moving, you have to lie underneath the vehicle, reach up into a blind area behind the plastic bumper cover and air dam, cut your hands several times, say some choice swear words, and hold the nut whilst turning the bolt. Gentle reader, I shall spare you any photographs of that ordeal.
Let me add, be ready if you jerk that bolt out while you are underneath the bar. The thing is heavier than it looks. A well-placed knee will prevent a concussion when you free the bar, or you can do what I did and use a stubby 14mm box wrench to hold the nut in place. There is not room enough for the wrench to make a complete turn, so if you hold your mouth right and continue to swear softly, the whole works will fall out the bottom of the bumper when you work the nut all the way off the bolt.
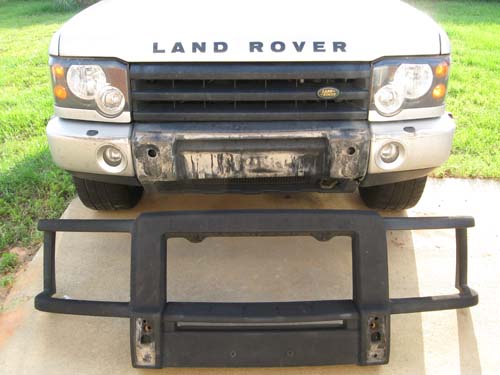
Here’s where you should end up, and you’re now ready to follow the instructions ARB provides with the bull bar. More to come as the project continues . . .

0 responses so far ↓
There are no comments yet...Kick things off by filling out the form below.
Leave a Comment